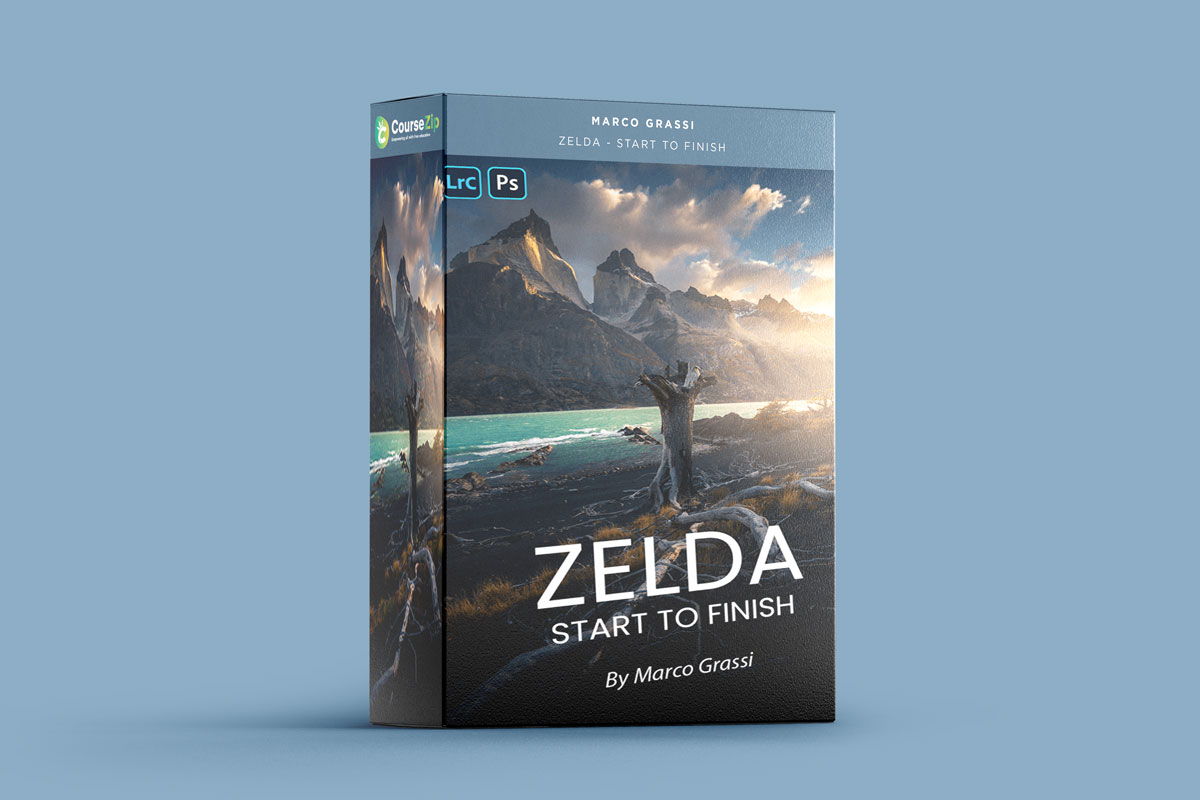
Learn how to get something out of nothing and turn an unusable file into a great image with this in depth tutorial. Scroll below to see the before and after and read more details.
Duration: 2 hr 14 min
I took this shot during the day with no intentions of using it afterwards, I was shooting with random and wrong settings during my location scouting. However, thanks to some transformations and post-processing tricks, I was able to completely recover it and make use of this shot. In this tutorial you’ll learn all my secrets and my complete workflow on editing this image, starting in Lightroom and ending in Photoshop, along with many different post-processing techniques.
WHAT ARE SOME OF THE THINGS I WILL LEARN IN THIS TUTORIAL?
- How to paint light from the side
- How to fix areas that are blown out
- How to dodge with color
- How to recreate the polarizer effect in the sky
- How to alter the perspective of an image
- My ultimate luminosity masking technique
- My entire approach and complete workflow on editing this image
- …and more…
You’ll be able to learn many different techniques, the reasons behind the use of each tool and colors as well as shortcuts to select and use tools (these shortcuts will be written down throughout the video). Please just be aware that this is not “a beginner’s tutorial to Photoshop” where I explain you everything about the software, the videos are entirely dedicated to show you my post processing workflow and the ideas behind it
Product Information
Marco Grassi – Zelda – Start to Finish
-
Price:
$0.00
-
Last Updated:
March 20, 2024
-
File Size:
3.44 GB
-
Compatible With:
Photoshop
-
Duration:2 hr 14 min
-
Softwares needed:Lightroom/CameraRaw & Photoshop


Write a Review
Leave a reply Cancel reply